Step 1: Design Development
Making the design is the initial step in the screen-printing procedure. After a design is selected, it is printed onto a film made of clear acetate, which is subsequently used to make the stencil or screen.
Step 2. Choosing and Setting Up the Screen
After completing the design, you must choose the screen and mesh count. One square inch’s worth of fibers is known as its mesh count. The design being printed will determine which mesh count you require.
Low mesh screens allow ink to flow through because of their broader apertures, while higher mesh screens print finer details while maintaining a decent ink coating.
Following selection, a coating of light-reactive emulsion is applied to the mesh screen.
Typically, emulsions come in three primary varieties:
• Diazo: Less expensive; requires a more prolonged exposure; unsuitable for finely detailed prints.
• SBQ-based: Requires no mixing, heals very fast, is costly, and is appropriate for intricate work.
• The third type of emulsions is called dual-cure, which combines Diazo and SBQ. It is less expensive than SBQ and takes less mixing time than Diazo.
Step 3. Getting the Emulsion Out
The emulsion hardens and develops when the transparent acetate film is carefully put on the mesh screen coated with emulsion and exposed to bright light. Using distinct screens for each color is crucial when using several colors.
Step 4: Making Stencils
The screen will become more complex in the exposed portions after a predetermined time, and any unhardened emulsion will be washed off to leave a clean imprint. After the screen has dried, the printer will perform any necessary touch-ups to ensure the imprint is as close to the original. It is now possible to use the stencil.
Step 5. Preparation for Print
When the material is ready to print, it is laid flat on the printing board, and the screen is positioned in the desired direction.
Step 6. Applying the Design
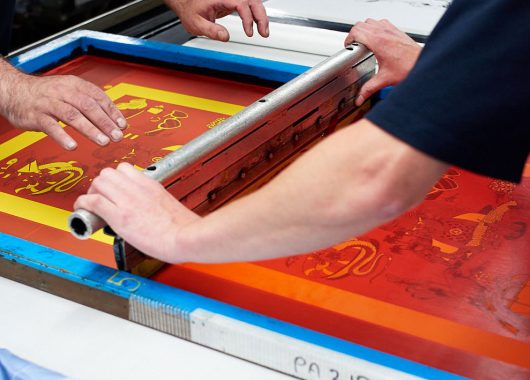
This step will bring the printed design to life. It is crucial to lower the screen to reach the printing board. The top of the screen has the desired ink color. A squeegee will spread the ink evenly over the screen’s length. The design is printed on the product due to the ink seeping through the stencil’s exposed sections and transferring to the silk underneath.
After everything is printed, the stencil will have served its job. Removing emulsion from the mesh using a unique cleaning solution can help make stencils.
Step 7. Heat Curing & Finishing
The printed product is heat-cured through a dryer to achieve a smooth design. This helps to prevent the design from fading.
How is Screen Printing Different from Digital Printing?
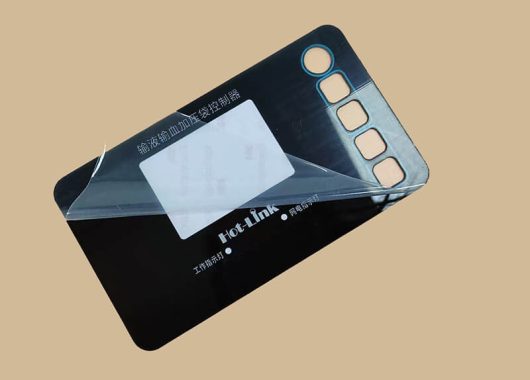
Screen printing and digital printing are distinct techniques in the world of printing Acrylic and printing polycarbonate.
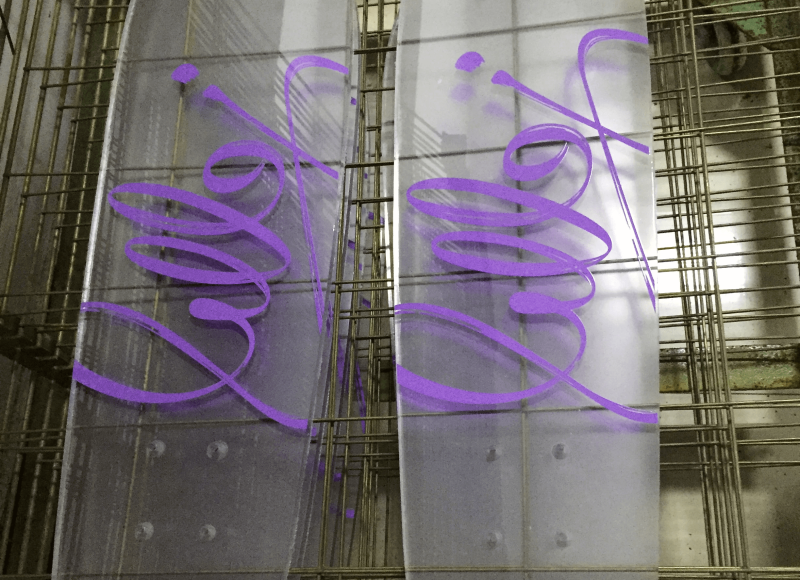
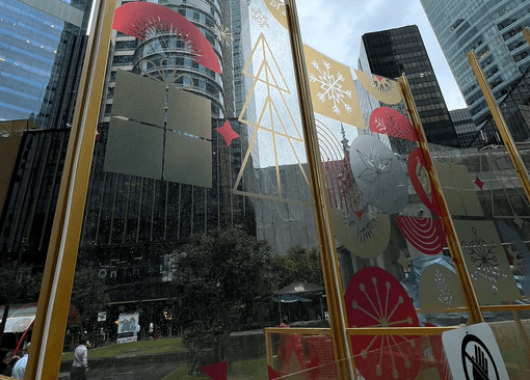
Screen printing involves pushing ink through a mesh or screen to transfer the design onto plastic sheet surface. It’s ideal for large-scale projects and works well on various materials, providing vibrant and durable results and cost friendly.
Digital printing, on the other hand, utilizes computer-controlled printers to reproduce digital images directly onto surfaces. This method is versatile, allowing for customization and variable data printing. It’s suitable for smaller print runs and offers high-resolution results.
In summary, while screen printing is traditional, manual, and suitable for larger quantities, digital printing is modern, computer-controlled, and excels in customization for smaller quantities.

