Excelite

How to Remove Scratches from Acrylic

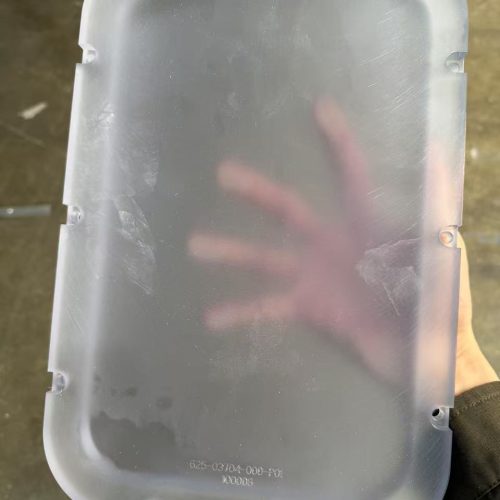
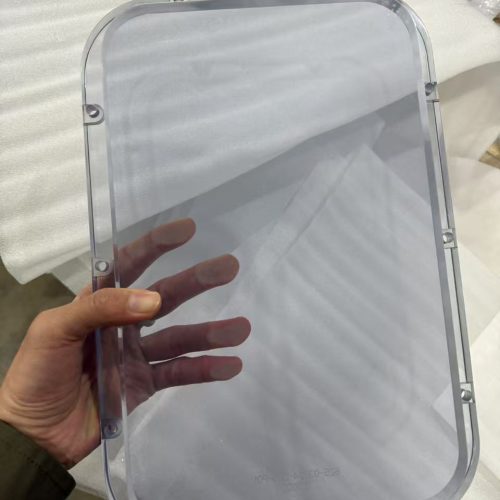
Acrylic, also known as Plexiglass, Acrylite, or Lucite — is widely used because it’s light, highly transparent, and impact‑resistant. At the same time, it’s softer than glass, which means it scratches easily during daily use, transport, or fabrication.

Most online guides repeat the same basics: “just wet sand and polish.” Useful, but incomplete.

In real production and professional maintenance, that’s often not enough — and in some cases, these simplified methods can even damage the material long‑term.

Types of Acrylic Scratches, And What You Can Actually Fix

Before you start sanding anything, identify what you’re dealing with. Different levels of damage require different approaches — and some should not be DIY‑repaired at all.

1.1 Light Surface Scratches (Hairline Scratches on Acrylic)

– Very fine lines only visible under light
– You usually cannot feel them clearly with your fingernail
– Only affect the outermost layer of the surface

1.2 Moderate Scratches on Acrylic

– You can feel the scratch with your fingernail

– Scratch is visible from multiple angles

– Does not fully gouge through the sheet, but clearly distorts light

1.3 Deep Scratches in Acrylic or Grooves

– Deep gouges with clear edge and strong tactile feel

– Obvious optical distortion

– Sometimes caused by sharp tools, screws, or hard impacts

1.4 Cracks / Crazing in Acrylic

– Visible cracks extending inward from an edge or hole

– White, spider‑web‑like micro‑cracks (crazing)

– Often caused by stress + chemicals + improper machining


 Basic Acrylic Scratch Repair Methods

sanding

2.1 Light Scratches: Use Acrylic Polish Only

For hairline scratches and light haze, you can often fix the problem without any sanding.

Recommended products:
Look for **acrylic‑safe polishes**, such as:

– Novus 2 acrylic polish (Fine Scratch Remover)
– Brillianize plastic cleaner and polish
– Other polishes specifically labeled for acrylic / plastic polishing

Step‑by‑step:

1. Clean the acrylic surface
– Use a soft microfiber cloth and a mild, non‑ammonia, neutral cleaner.
– Rinse any dust off first so you don’t grind dirt into the surface.

2. Apply acrylic polish
– Use a clean microfiber or cotton cloth.
– Apply a small amount of polish to the cloth, not directly to the sheet.

3. Polish in a circular motion
– Use light to moderate pressure.
– Work in overlapping circles over and around the scratched area.

4. Buff and inspect
– Wipe off residue with a clean dry microfiber cloth.
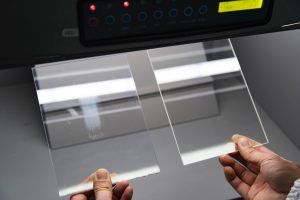
– Check under strong lighting.
– Repeat the process if necessary.

This method works for about 80% of light acrylic surface scratches on displays, machine guards, shields, control panels, etc.

polishing polycarbonate

2.2 Moderate & Some Deep Scratches: Wet Sanding Acrylic + Polishing

This is the “classic” recommended process, and it does work— if done correctly.

Tools & materials:

  • Wet/dry sandpaper for acrylic: 800 / 1000 / 1200 / 1500 / 2000 / 3000 grit
  • Distilled or purified water
  • Soft sanding block or foam sanding pad
  • Acrylic polish
  • Clean with microfiber cloths

Standard steps:

1. Clean the area
– Remove dust and contaminants completely.
– Any remaining grains will create more scratches when sanding.

2. Start with appropriate grit
– For moderate scratches: start around 800–1000 grit.
– For deeper scratches: you might need 600 grit, but this is risky and should be done only if you understand the material thickness and structural role.

3. Wet sand the acrylic
– Soak the sandpaper and the surface with water.
– Sand lightly with even pressure.

4. Increase grit gradually
– Progressively move through 1200 → 1500 → 2000 → 3000.
– Each step’s job is to remove the scratches left by the previous grit.

5. Finish with acrylic polish
– Once the sanded area looks uniformly matte, use acrylic polish to restore full transparency and gloss.

2.3 Heat Gun Acrylic Repair(Advanced & Risky)

Some guides suggest using a low‑temperature heat gun to slightly soften the surface and let fine scratches “melt away.”

Conceptually, this can work for:

– Very light surface scuffs
– Edges that need a quick gloss finish

But:

– Overheating creates bubbles, waves, and internal stress
– Sheet can warp or deform
– Poor technique leads to permanent white haze

This method is not beginner‑friendly. It requires strict temperature control and experience.

Professional Acrylic Repair Secrets, Almost Nobody Mentions

3.1 Temperature Control Is More Important Than Grit Number

Most tutorials focus on “what grit to use.” In real work, temperature is often the real culprit behind long‑term damage.

When acrylic gets too hot during sanding or polishing:

– It builds up internal stress
– Becomes more prone to crazing (fine cracks) later
– Can warp, distort, or even crack spontaneously over time

3.2 Sanding Area Must Be Larger Than the Scratch Area

A common DIY mistake:
Only sanding right on top of the scratch.

Result:

– The scratched area becomes a visible “pit” in the acrylic
– Light bends differently through that lower area
– You end up with a clearer but very noticeably warped spot

Professional technique:

– Expand your sanding area to at least 2–3 cm (1–1.5 inches) beyond the scratch** in all directions.
– Keep your motion broad and even so you blend the acrylic repair into the surrounding surface.

3.3 Be Very Careful with Acrylic Aquariums

This warning is rarely heard but extremely important.

Acrylic aquariums and similar tanks are pressure‑bearing structures:

– Deep sanding = material thickness loss
– Reduced thickness = lower structural safety
– With long‑term water pressure, this can contribute to cracking, bowing, or failure

Professional recommendation:

– For aquariums, avoid aggressive sanding with coarse grit.
– Light surface polishing
– Very fine grit sanding only
– If scratches are deep and disturbing your view, discuss professional acrylic aquarium refinishing or panel replacement with a fabricator.

Acrylic aquarium

3.4 Polisher Speed for Acrylic Matters More Than the Brand of Polish

Many guides focus on “which polish to buy,” but in practice:

The speed and technique of your polisher affect the result far more than the product label.

Ideal speed range:

– For acrylic, a safe and effective rotary speed is usually:
– 600–1000 RPM

 What to avoid:

– Above 1500 RPM:
– High risk of:
– “Burning” the surface
– Creating white haze or cloudy spots
– Localized melting or ripples

3.5 Don’t Forget Edge Chamfering After Heavy Sanding

Acrylic edges and sharp corners are stress concentrators. If you aggressively sand or machine near an edge and leave it sharp:

– Stresses concentrate at that corner
– Cracks can start from that point and propagate

MORE ARTICLES


TAILORED POLYCARBONATE SOLUTION

Get a Quote Today

Looking to transform your vision into a tangible product? 

At Excelite Plastics, we understand that every project is unique.

sales@exceliteplas.com

+61452 396 680

Click or drag a file to this area to upload.